How to Change a Head Gasket on a Honda Civic

Charles
Thu, 09/22/2011 - 11:53
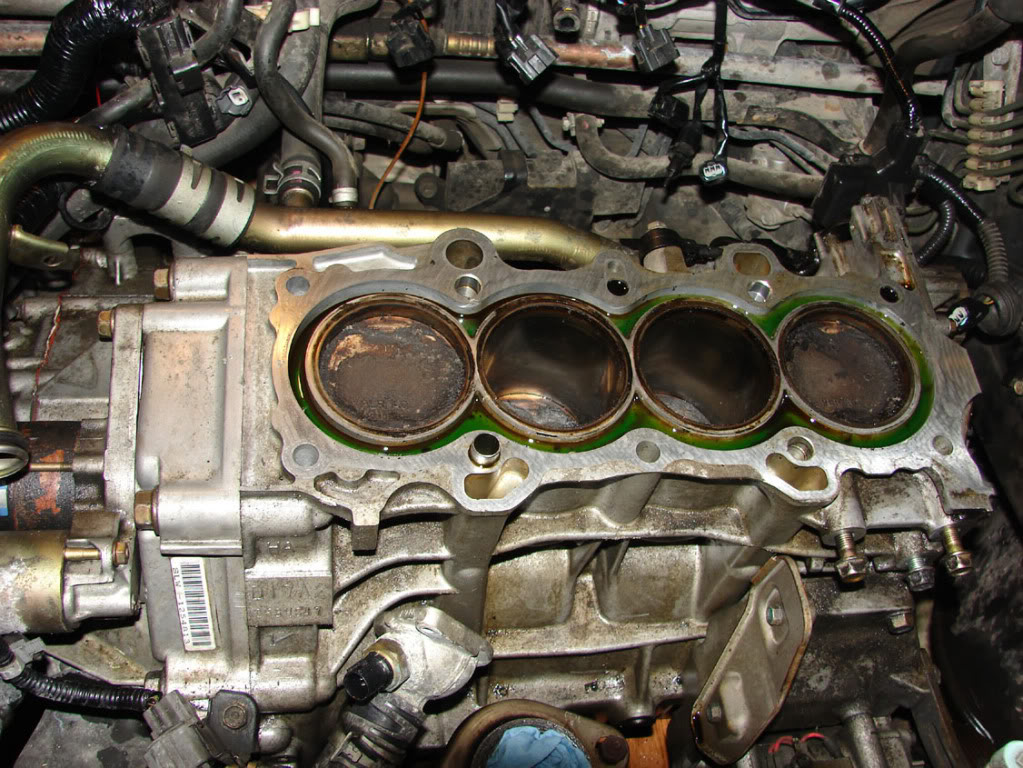
Your Honda Civic may have its head gasket leakage which then needs to be replaced. Although auto shop mechanic can do for you; but you may carry out this task on your own as well. For this reason, you have to be acquainted with the things that guide about how to change a head gasket on a Honda civic. Things you’ll need: The things you may require for this job are:
  • Screwdriver
  • Wrench
  • Container for waste oil
  • Degreaser
  • Toothbrush
  • Paper towels
Step 1: To begin, you have to unplug all wires as well as hoses that are connected to the cylinder head and then take out the head cover. Remove the A/C fan in order to clear it of studs. Step 2: Now set the motor to “top dead center,” also called TDC. Then take away the #1 cylinder’s spark plug and the valve cover to watch the springs. Put a screwdriver in the open spark plug hole, and rotate the motor by your hand in anti-clockwise direction. When you find the #1 cylinder on its intake stroke, look at the screwdriver. Turn on the motor gradually until the screwdriver reaches its maximum point. Now take out the screwdriver. Slide off the timing belt, and confirm that you avoided rotating the motor again. Step 3: Next sequentially take out the head bolts and make certain that there is not any coolant line which is still connected. Pick up the cylinder head out. It is obviously heavy and you definitely need another person to help out you. Take out the old head gasket. Step 4: Draw off the oil from the cylinder head. Make the pistons, valves, head bolt holes and all other parts clean by means of degreaser and a toothbrush. When you done with it; wipe down through a paper towel. Step 5: Now put new head gasket into the engine block fittingly. Put cylinder head back to its position warily on the head gasket top. Soak the head bolts in oil to grease them, and next put back them. Make tighter each bolt properly. Step 6: Now set up the torquing sequence, while going after the instructions given in your Honda’s manual. Normally you have to torque each bolt to near about 22 foot-pounds in the majority D-series cars, subsequently all to 53 foot-pounds. Do it exactly in the same sequence as mentioned in the manual, otherwise you could damage the head. Step 7: Finally, reinstall the timing belt plus connect all wires as well as coolant lines once again.

Photo of the day

Choose Make

Select make
Select model
Select year