Replacing the Yamaha Blaster Brakes
The changing process involved in exhausted Yamaha Blaster brakes and of its pads is quite simple, which is also suitable for most of the Yamaha riders. With the help of essential tools and a strong jack Yamaha Blaster brakes can be replaced within an hour. Just take few precautionary measures of covering your eyes and wearing the dust mask so that you are safe from the hazardous brake dust getting inhaled or making a contact with the eyes.
The replacement of Yamaha Blaster brakes is ranked as moderately complicated then rest of the vehicles. The things you will require in changing process are: needle nose pliers, brake cleaner, socket wrench with sockets, medium grit sandpaper, shop towels, jack, front brake shoe replacement, brake shoes and brake pads.
There are fairly easy steps involved in changing the Yamaha Blaster brakes, which are as under:
- With the help of socket wrench release the haul nuts of the front wheel. Take out the cotter pin from a castle nut that is located at the middle of wheel’s center. Now release the castle nut with the wrench. Repeat the step in reverse direction.
- Raise the wheels at the front off the floor with a strong jack. Take out the haul nuts to remove the wheel from its center. Take out the wheel’s center castle nut with the help of socket wrench and then remove its center from the axle.
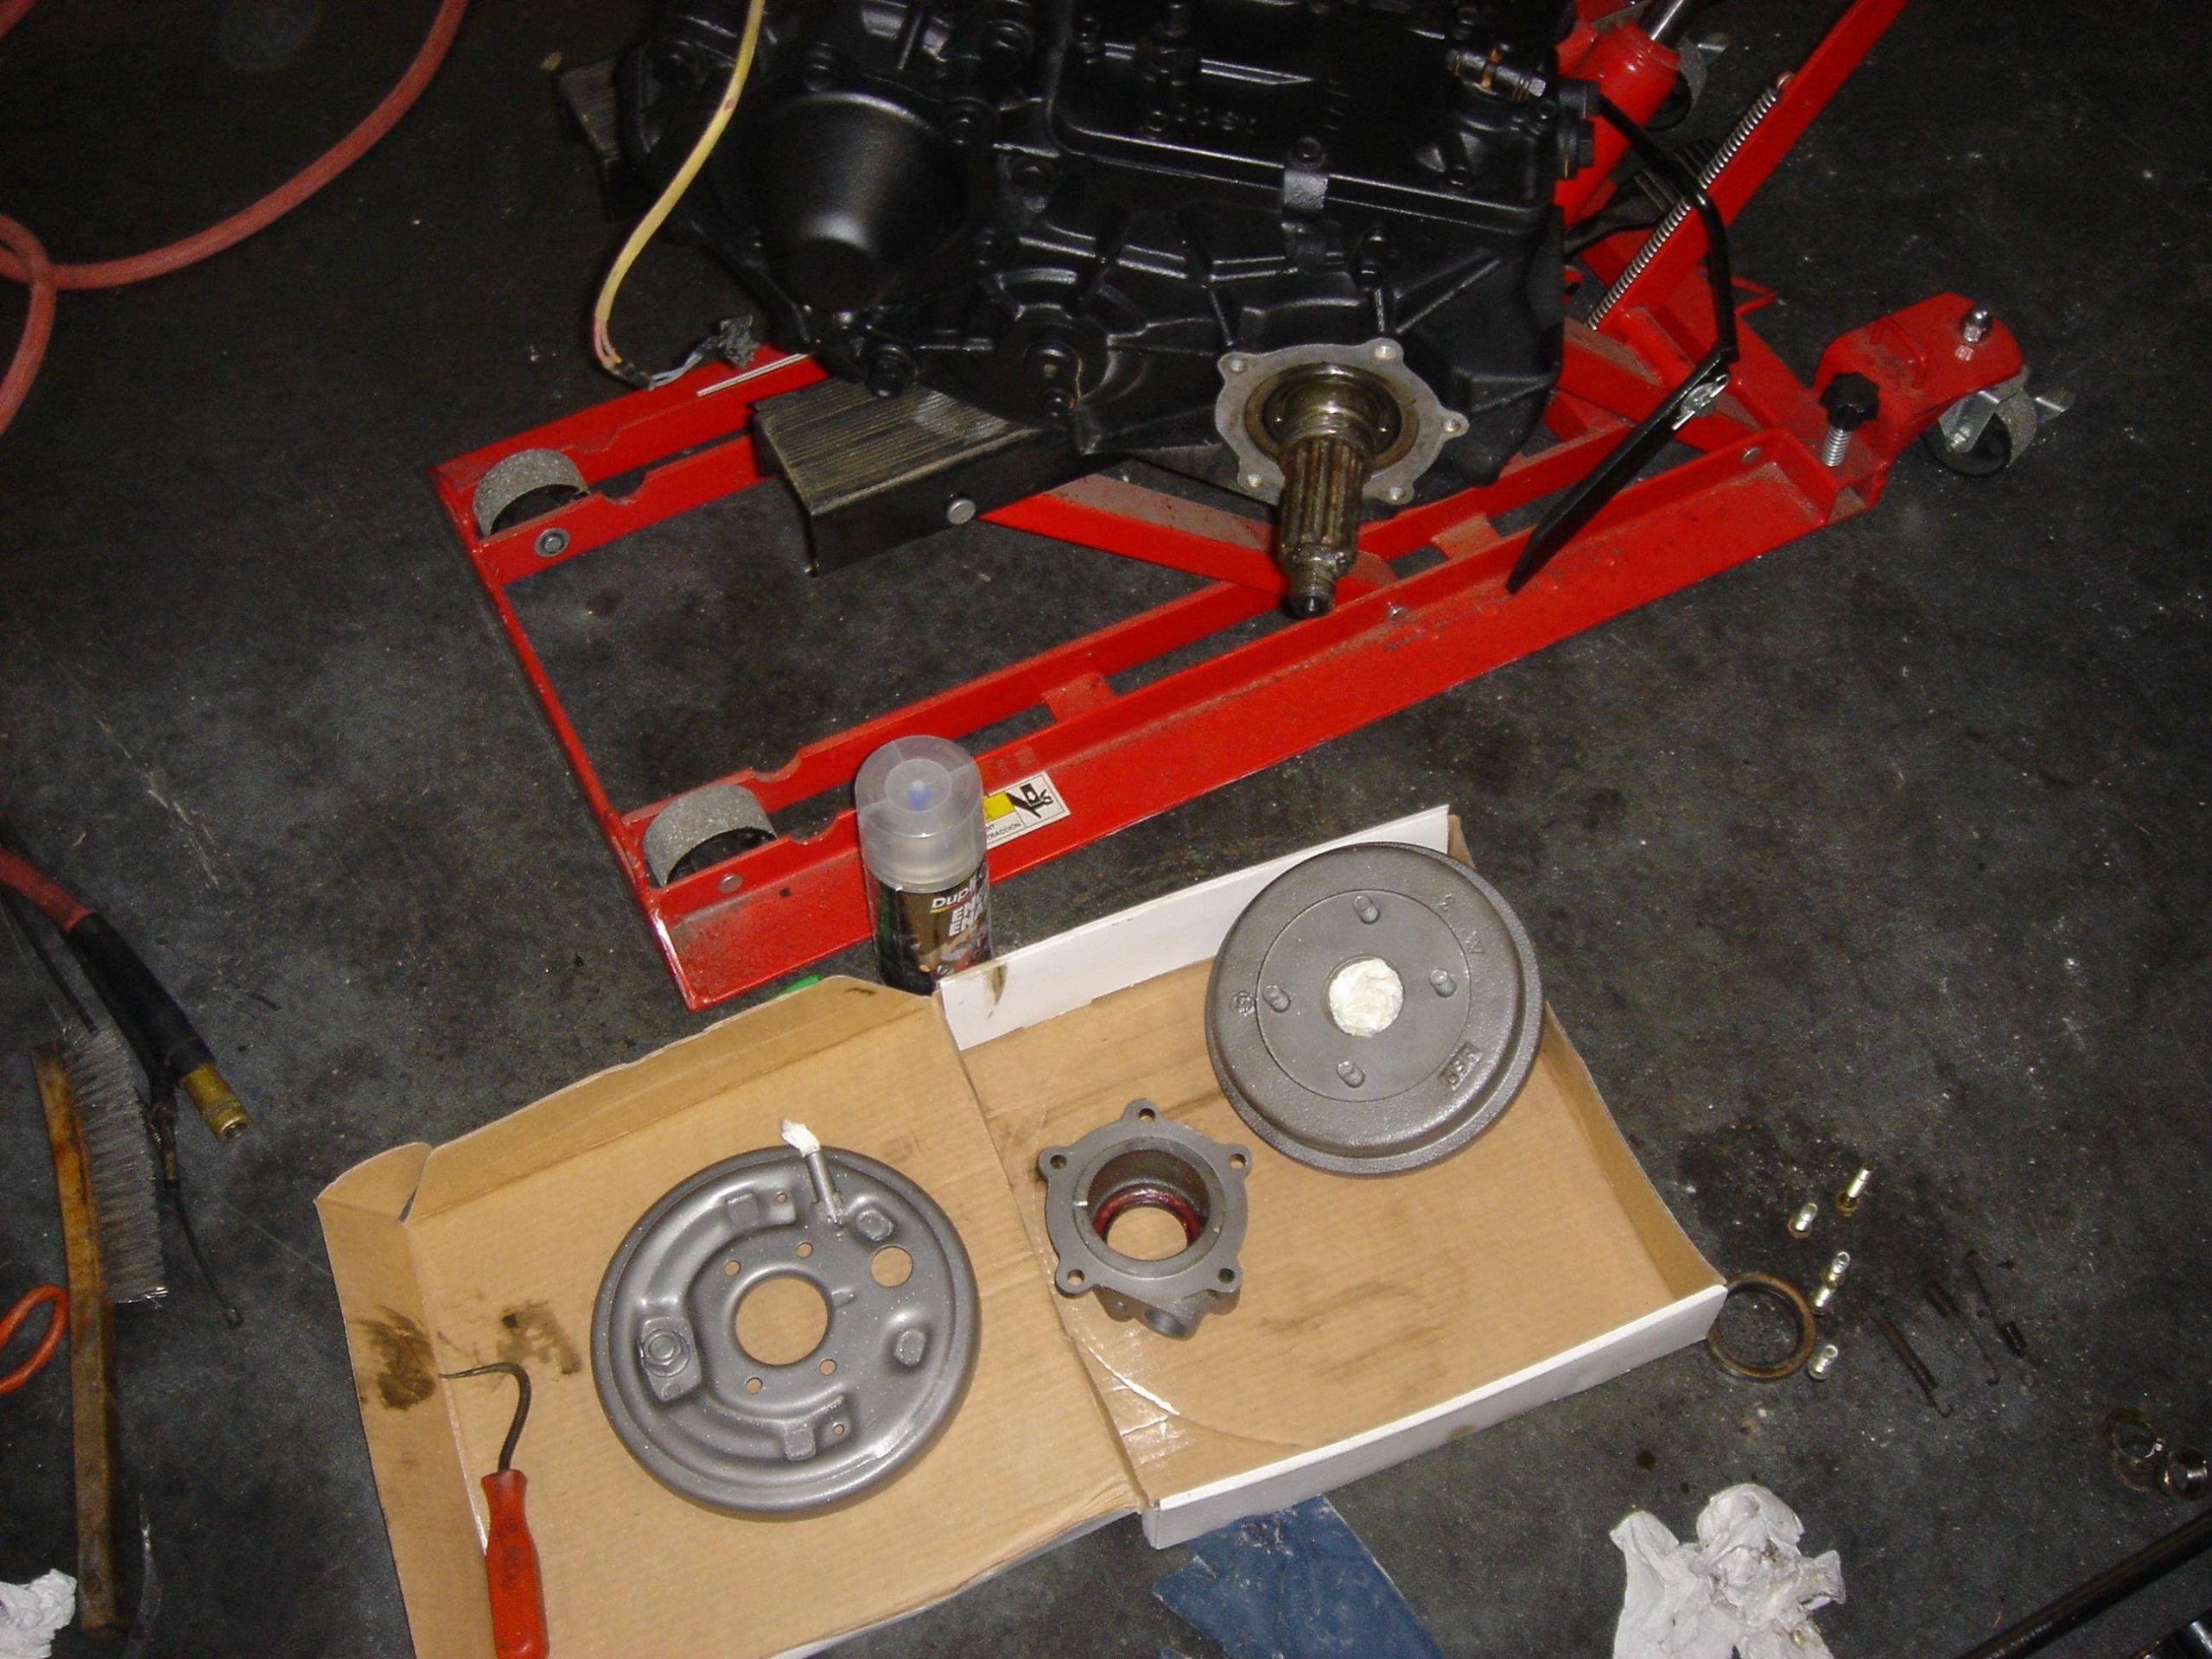
- Remove the Yamaha Blaster brakes shoe plate from the drum. Then pull out the brake shoes from the drum. With the medium grit sandpaper and brake cleaner clean the internal area of the drum. Spray the brake cleaner once again on the drum and wipe it off with a neat towel. Now install new brake shoes in the drum.
- Reposition the shoe plate of the brake, its center part and front wheel, adopting the opposite order of exclusion. Repeat this step on the other wheel.
Now next stage is to replace the rear pads of Yamaha Blaster brakes in the following way:
- With the help of socket wrench release the haul nuts of the rear wheel. Take out the cotter pin from a castle nut that is located at the middle of wheel’s center. Now release the castle nut with the wrench.
- Raise the rear wheels from the floor with a strong jack. Take out the haul nuts to remove the wheel from its center. Take out the wheel’s center castle nut with the help of socket wrench and remove its center from the axle.
- At the rear axle try to find out the rear brake caliper. Take off the two bolts of the mounting bracket holding the caliper. Glide the caliper down the rear brake’s rotor. Remove the brake pads from the caliper’s opening. Then clean its opening with a brake cleaning agent and wipe it off with a neat towel. Install new pads of Yamaha Blaster brakes in the caliper.
- Reposition the brake caliper of the rear wheel, its center part and rear wheel, adopting the opposite order of exclusion.